Basic Blade
- Blade is the simple, yet powerful templating engine provided with Laravel
- Blade is Laravels rendering engine to parse HTML and PHP to the view
- Blade adds no overhead to your application: all Blade views are compiled into plain PHP code and cached until they are modified
- Blade view files use the .blade.php file extension and are stored in the resources/views folder
Template layout
- Two of the primary benefits of using Blade are template inheritance and sections
- Since most web applications maintain the same layout across various pages, it's convenient to define this layout as a single Blade view
- The template or "master page layout" consists of
- regular HTML code that is common to all pages
- one or more "gaps" which can be filled in separately for each page
1. Common code
- Create a new file resources/views/layouts/template.blade.php
- For the layout we choose Bootstrap: you can keep it simple for now and link the necessary CSS and JavaScript files via CDN
<!doctype html>
<html lang="en">
<head>
    <meta charset="UTF-8">
    <meta name="viewport" content="width=device-width, initial-scale=1.0">
    <link rel="stylesheet" href="https://cdnjs.cloudflare.com/ajax/libs/twitter-bootstrap/4.6.0/css/bootstrap.min.css" />
    <title>The Vinyl shop</title>
</head>
<body>
{{--  Navigation  --}}
<main class="container">
    <p>Page under construction ...</p>
</main>
{{--  Footer  --}}
<script src="https://cdnjs.cloudflare.com/ajax/libs/jquery/3.6.0/jquery.min.js"></script>
<script src="https://cdnjs.cloudflare.com/ajax/libs/twitter-bootstrap/4.6.0/js/bootstrap.bundle.min.js"></script>
</body>
</html>
1
2
3
4
5
6
7
8
9
10
11
12
13
14
15
16
17
18
2
3
4
5
6
7
8
9
10
11
12
13
14
15
16
17
18
REMARKS
- You can add comments in Blade by putting them between
{{--and--}} - These Blade comments are not included in the rendered HTML
- In PhpStorm you can use the shortcuts
Ctrl+/(single comment line) orCtrl+Shift+/(multiple comment lines)
2. Create some gaps
- For now, create two gaps in the template using the
@yielddirective- One gap for the title (line 7)
- One gap for the content of the page (line 12)
- A gap has at least a name, e.g.
@yield('title') - A gap can optionally contain a default value, e.g.
@yield('title', 'The Vinyl Shop')
<!doctype html>
<html lang="en">
<head>
    <meta charset="UTF-8">
    <meta name="viewport" content="width=device-width, initial-scale=1.0">
    <link rel="stylesheet" href="https://cdnjs.cloudflare.com/ajax/libs/twitter-bootstrap/4.5.0/css/bootstrap.min.css" />
    <title>@yield('title', 'The Vinyl Shop')</title>
</head>
<body>
{{--  Navigation  --}}
<main class="container">
    @yield('main', 'Page under construction ...')
</main>
{{--  Footer  --}}
<script src="https://cdnjs.cloudflare.com/ajax/libs/jquery/3.5.1/jquery.min.js"></script>
<script src="https://cdnjs.cloudflare.com/ajax/libs/twitter-bootstrap/4.5.0/js/bootstrap.bundle.js"></script>
</body>
</html>
1
2
3
4
5
6
7
8
9
10
11
12
13
14
15
16
17
18
2
3
4
5
6
7
8
9
10
11
12
13
14
15
16
17
18
Link existing page to the template
- Open the file resources/views/home.blade.php
- Use the
@extendsdirective (in this case@extends('layouts.template')) to link the page to the template
@extends('layouts.template')

{{--
<h1>The Vinyl Shop</h1>
<p>Welcome to the website of The Vinyl Shop, a large online store with lots of (classic) vinyl records.</p>
--}}
1
2
3
4
5
6
2
3
4
5
6
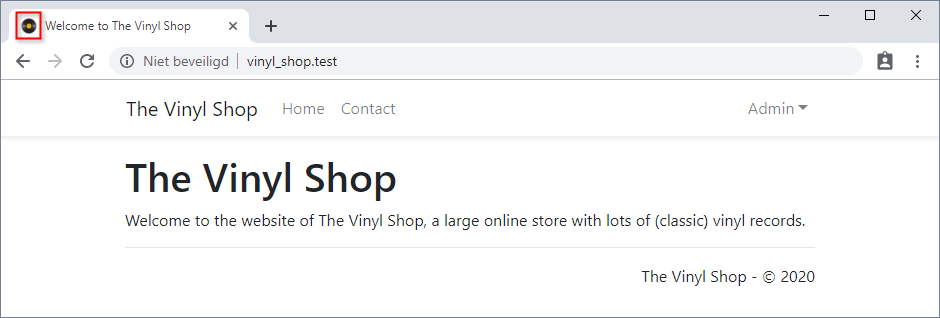
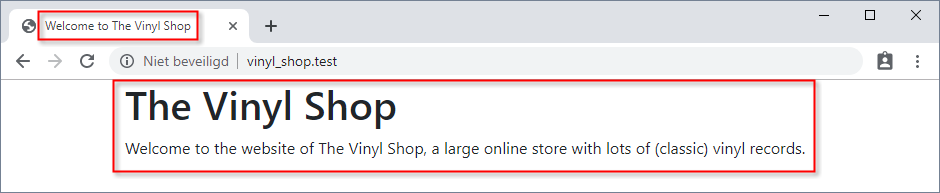
- Comment out the HTML code and visit http://vinyl_shop.test
- Only the default title ('The Vinyl Shop') and default main element ('Page under construction ...') are shown

Fill the gaps
- Refer to a gap with the
@section('gapName')directive - Close the gap with
@endsection(or with@stop) - If the gap contains only a small amount of content, you can write it on one line
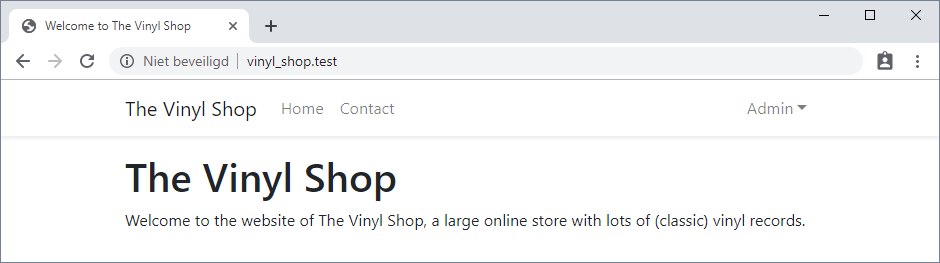
@section('gapName', 'small amount of content') - Update the home page
@extends('layouts.template')

@section('title', 'Welcome to The Vinyl Shop')

@section('main')
<h1>The Vinyl Shop</h1>
<p>Welcome to the website of The Vinyl Shop, a large online store with lots of (classic) vinyl records.</p>
@endsection
1
2
3
4
5
6
7
8
2
3
4
5
6
7
8
- Check the result in a browser by visiting http://vinyl_shop.test/
Including Sub-Views
- In order not to overload the template, it is best practice to place larger blocks of code (e.g. navigation) in separate files
- Blade's
@includedirective allows you to include a Blade view from within another view - All variables that are available to the parent view will be made available to the included view
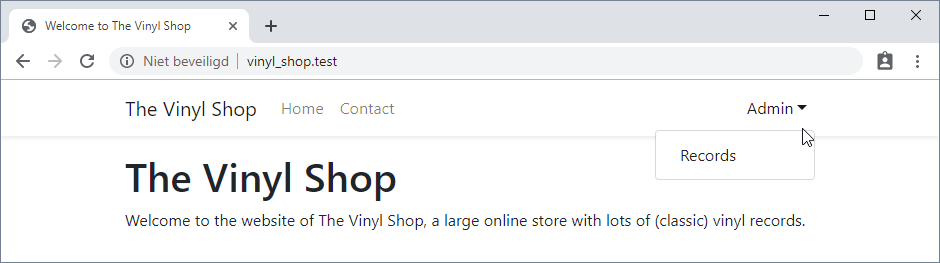
- Create a new file resources/views/shared/navigation.blade.php
- This file contains a Bootstrap navigation bar with root-relative links to the different pages
<nav class="navbar navbar-expand-md navbar-light bg-white shadow-sm">
    <div class="container">
        <a class="navbar-brand" href="/">The Vinyl Shop</a>
        <button class="navbar-toggler" type="button" data-toggle="collapse" data-target="#collapsNav">
            <span class="navbar-toggler-icon"></span>
        </button>
        <div class="collapse navbar-collapse" id="collapsNav">
            <ul class="navbar-nav mr-auto">
                <li class="nav-item">
                    <a class="nav-link" href="/">Home</a>
                </li>
                <li class="nav-item">
                    <a class="nav-link" href="/contact-us">Contact</a>
                </li>
            </ul>
            {{--  Admin navigation  --}}
            <ul class="navbar-nav ml-auto">
                <li class="nav-item dropdown">
                    <a class="nav-link dropdown-toggle" href="#!" data-toggle="dropdown">Admin</a>
                    <div class="dropdown-menu dropdown-menu-right">
                        <a class="dropdown-item" href="/admin/records">Records</a>
                    </div>
                </li>
            </ul>
        </div>
    </div>
</nav>
1
2
3
4
5
6
7
8
9
10
11
12
13
14
15
16
17
18
19
20
21
22
23
24
25
26
27
2
3
4
5
6
7
8
9
10
11
12
13
14
15
16
17
18
19
20
21
22
23
24
25
26
27
- Open the template resources/views/layouts/template.blade.php
- Include the navigation bar with
@include('shared.navigation') - Add some extra top margin
mt-3to the container
(in order to create some space between the navigation bar and the main container)
- Include the navigation bar with
<body>
    @include('shared.navigation')
    <main class="container mt-3">
        @yield('main', 'Page under construction...')
    </main>
    {{--  Footer  --}}
</body>
1
2
3
4
5
6
7
2
3
4
5
6
7
- Watch the result in a browser by revisiting http://vinyl_shop.test/
EXERCISE 1: Refactor all pages
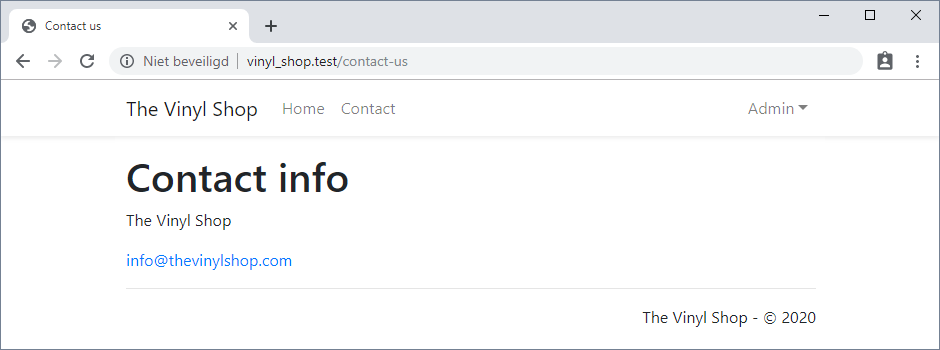
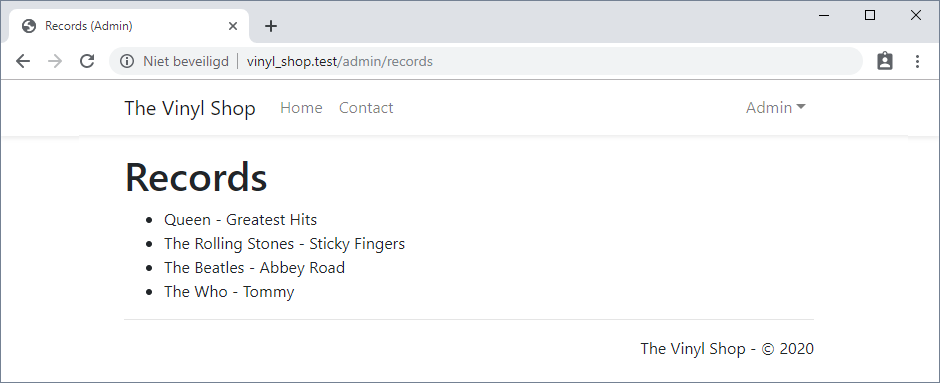
- Link the views contact.blade.php and admin/records/index.blade.php to the template
- Create a shared footer shared/footer.blade.php and include it in the template (replacing the comment
{{-- Footer --}})- Use the PHP
date()function (within double curly braces!) to display the current year inside the footer
- Use the PHP
- Test your pages (http://vinyl_shop.test/contact-us and http://vinyl_shop.test/admin/records) in a browser
EXERCISE 2: Favicon
- Add a real favicon (https://realfavicongenerator.net/) to all the pages of your project
- Search for a suitable (and original) favicon picture and place the generated files in (a subfolder assets/icons in) the public folder
- Do not to overload the template and place the generated icon code in a separate file resources/views/shared/icons.blade.php