Authentication
- Laravel makes implementing authentication very simple as almost everything is configured for you out of the box
- The authentication configuration file is located at config/auth.php and contains several well documented options for tweaking the behavior of the authentication services
Authentication Quickstart
Routing
- Laravel provides a quick way to list all routes using one simple command:
php artisan route:list
WARNING
Stop your npm run watch script before proceeding!
- After installing the frontend scaffolding, run the command
php artisan ui bootstrap --authto scaffold basic login and registration views and routes
REMARKS
- Because you already have a page home.blade.php, the console asks you:
The [home.blade.php] view already exists. Do you want to replace it? (yes/no) [no]: - Replace the homepage: type
yesand pressEnter - Compile the fresh scaffolding with
npm install && npm run dev - Check whether your webpack.mix.js still ends with the following lines of code:If not, add them back!
mix.browserSync({
    proxy: 'vinyl_shop.test',
    port: 3000
});
1
2
3
4 - Check that resources/sass/app.scss is still intact. If not, re-adjust the code:
// Fonts
@import url('https://fonts.googleapis.com/css?family=Nunito');
@import url('https://cdnjs.cloudflare.com/ajax/libs/font-awesome/5.15.4/css/all.min.css');

// Variables
@import 'variables';

// Bootstrap
@import '~bootstrap/scss/bootstrap';

// Custom code
@import 'main';
1
2
3
4
5
6
7
8
9
10
11
12
13
2
3
4
5
6
7
8
9
10
11
12
13
If not, add them back!
- Laravel automatically updates the routes/web.php file by adding two statements at the bottom of the file
Auth::routes();
Route::get('/home', 'HomeController@index')->name('home');
1
2
2
- Open app/Providers/RouteServiceProvider.php and change the
HOMEconstant from/hometo/
(because the route to our homepage is / and not /home)
public const HOME = '/'; // instead of the original path '/home'
1
- List all routes again:
php artisan route:list- The first line
Auth::routes()added 11 routes (referring to 5 controllers) to the site - Inside the folder app/Http/Controllers/Auth you'll find 6 controllers/files, not 5
- The files VerificationController.php (which is related to email verification) and ConfirmPasswordController.php (which is related to password confirmation) will not be used in this course
- The first line
Views
- Laravel added 6 view files to the folder resources/views/auth folder
- 3 files inside the root
- 3 files inside the passwords subfolder
- All these files extend a newly created template file resources/views/layouts/app.blade.php
- Laravel overwrote our homepage resources/views/home.blade.php, the new version of which also extends this new template file (we'll fix this later)
Test the full auth cycle
- Open the homepage http://localhost:3000/ and look at the navigation
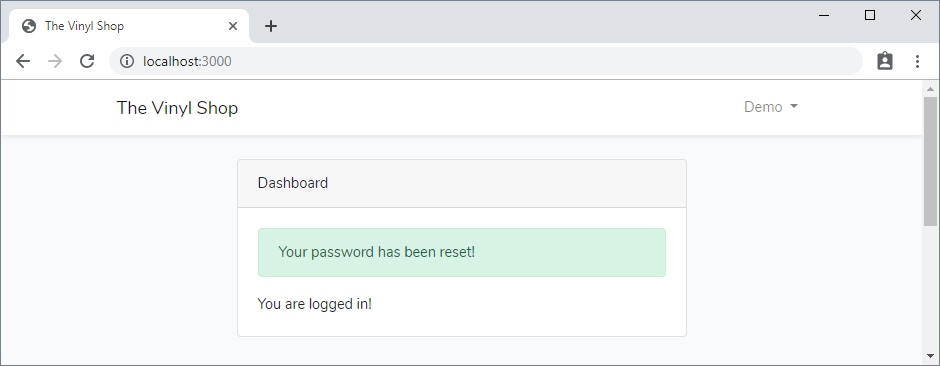
- Don't worry about the Dashboard block that always announces 'You are logged in!'
- On the top right, you have two links, Login and Register

- Test both links and look what happens ...
- Click on Login and use one of the users we created earlier
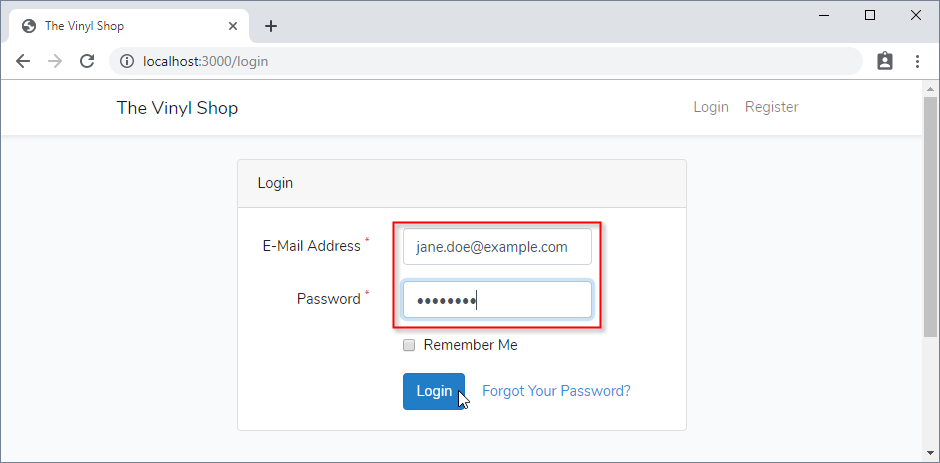
- The navigation shows your username and a Logout link

- Click on Logout
- Click in the navigation on Register
- Register a new user, e.g. demo_vs@mailinator.com
- The password must be at least 8 characters and must be entered twice
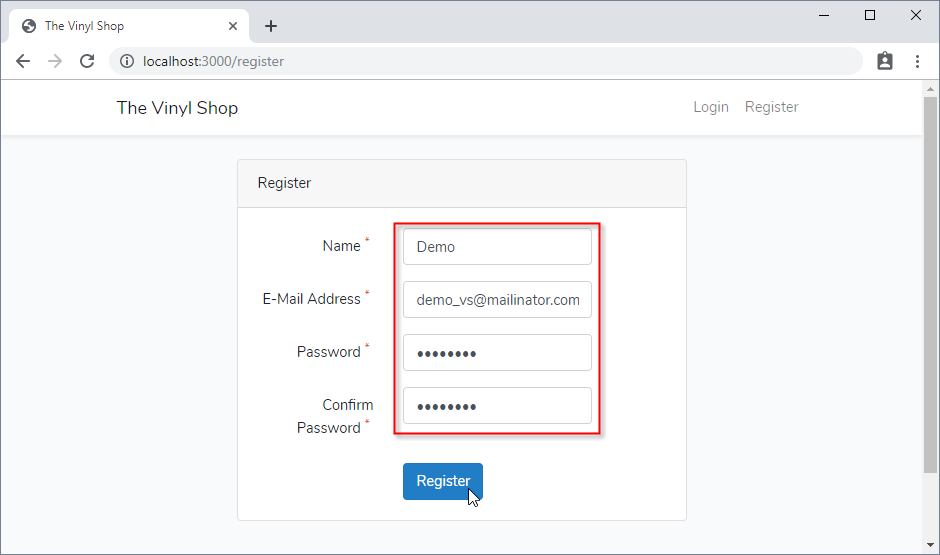
- The user will be created in the database (open phpMyAdmin and check the table users) and is immediately logged in

- The password must be at least 8 characters and must be entered twice
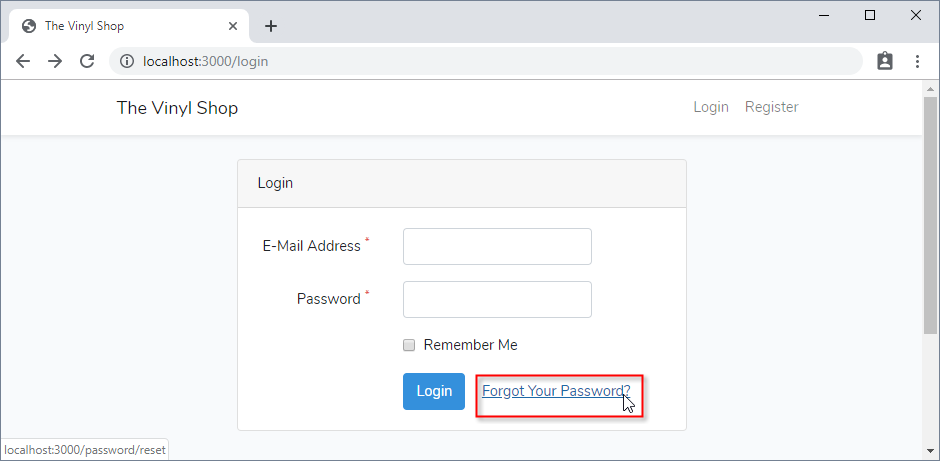
- Logout again and click on Login
- Click on the link Forgot Your Password?
- Enter your email address
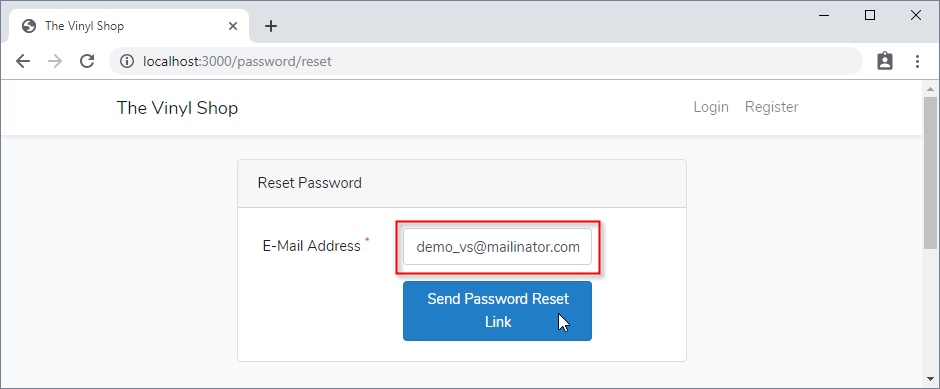
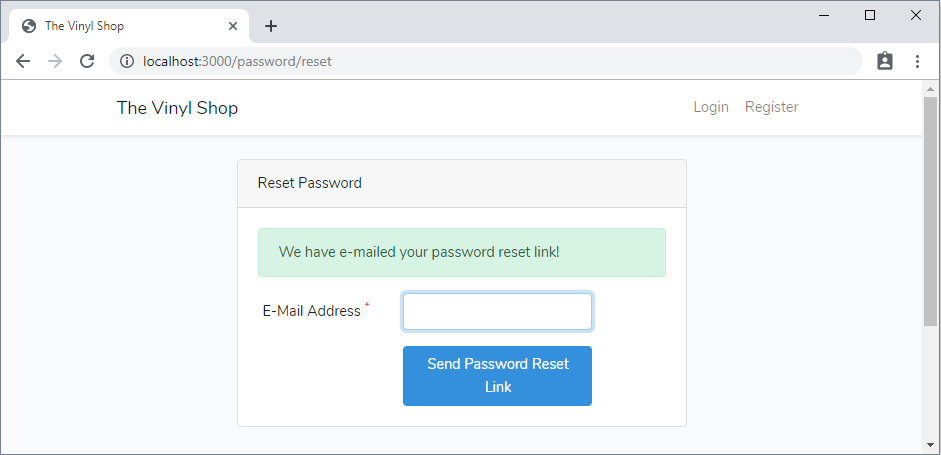
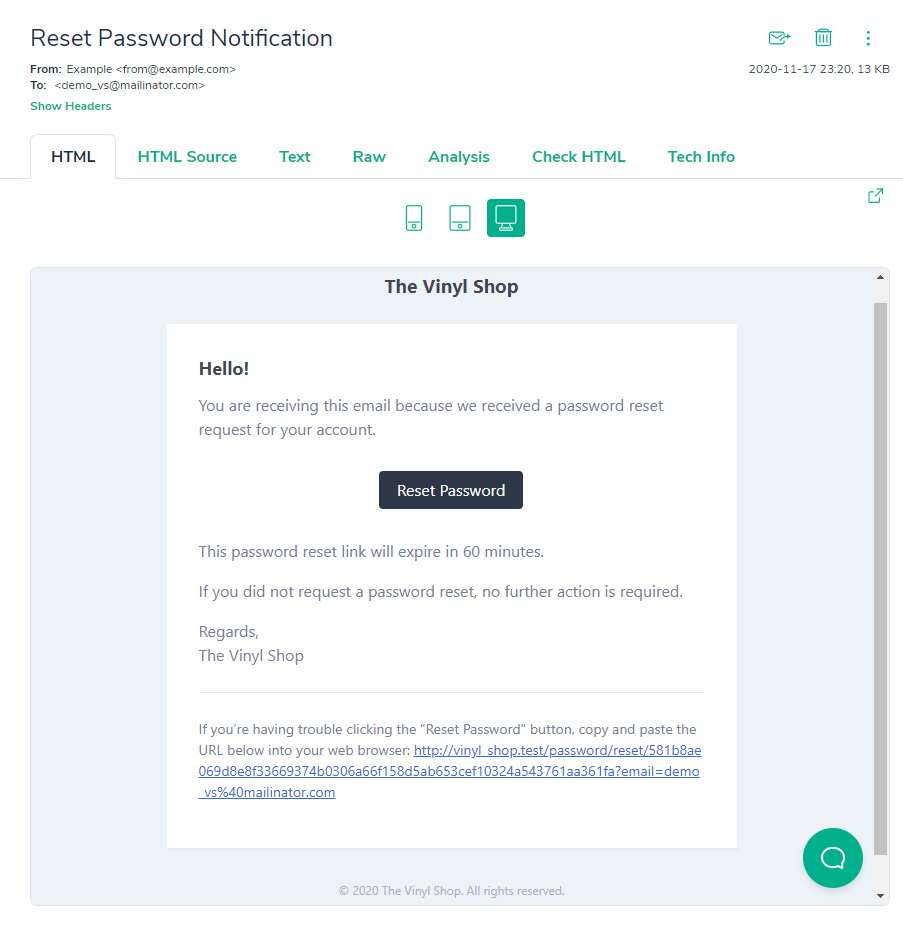
- Check your Mailtrap inbox and click on the link button
REMARK
In contrast to the mail sent from the contact form, we cannot easily change the from address/name for this automated mail. The values of
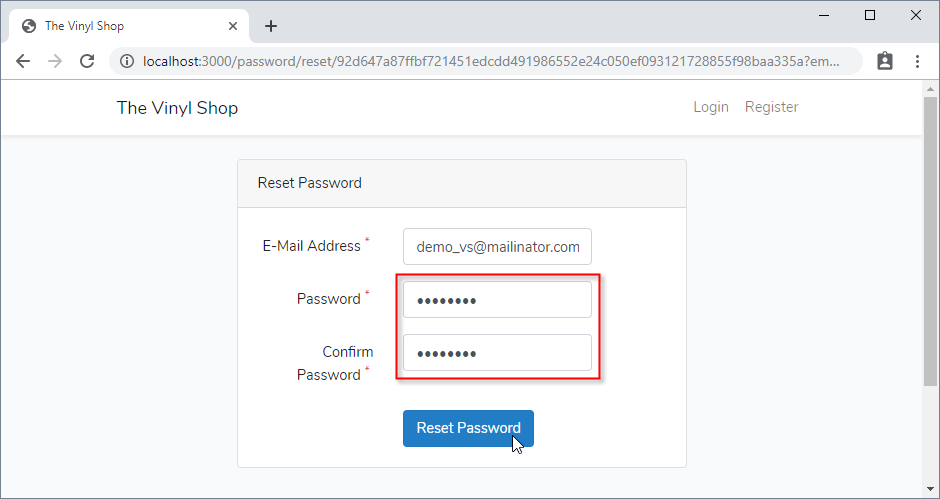
MAIL_FROM_ADDRESSandMAIL_FROM_NAMEin the .env file are used, so adjust them to appropriate values (e.g. toMAIL_FROM_ADDRESS=info@thevinylshop.comandMAIL_FROM_NAME="The Vinyl Shop") if you haven't done this yet.- Enter a new password twice, after which you are automatically logged in
- Click on Login and use one of the users we created earlier
REMARK
In the auth cycle illustrated above no errors occurred. Obviously, your Laravel application will also react "correctly" in the following erroneous scenarios:
- Login with an unknown email or with a wrong password
- When registering or resetting the password, the entered password is too short or the two passwords are not equal
- A password reset link is requested for a non-existing user
- ...
Update the views
- All newly created authentication views extend the template resources/views/layouts/app.blade.php
Auth pages extending our template
- Open the file resources/views/home.blade.php
- Open all six files inside the folder resources/views/auth
- Update all seven pages
- Change
@extends('layouts.app")to@extends('layouts.template') - Change
@section('content')to@section('main')
- Change
@extends('layouts.template')

@section('main')
1
2
3
2
3
- Update the home page back to it's original state
@extends('layouts.template')

@section('main')
    <h1>The Vinyl Shop</h1>
    <p>Welcome to the website of The Vinyl Shop, a large online store with lots of (classic) vinyl records.</p>
@endsection
1
2
3
4
5
6
2
3
4
5
6
Retrieving the authenticated user
- You may access the authenticated user via the
auth()helper function or via theAuthfacade
- For example, the code below can be added to a controller of choice (you don't need to do this -> we will use/illustrate this further on in our navigation Blade file and our admin middleware)
// Get the currently authenticated user
$user = auth()->user();             // or Auth::user();
Json::dump($user);

// Get one attribute off the currently authenticated user's (e.g. name, email, id, ...)
$name = auth()->user()->name;       // or Auth::user()->name;
Json::dump($name);

// Shortcut for the currently authenticated user's id
$id = auth()->id();                 // or Auth::id();
Json::dump($id);
1
2
3
4
5
6
7
8
9
10
11
2
3
4
5
6
7
8
9
10
11
Authentication directives and helpers inside Blade
- The
@authand@guestBlade directives may be used to quickly determine if the current user is authenticated or is a guest - You can also use the
auth()helper function orAuthfacade (see above) inside a Blade template
Update the navigation
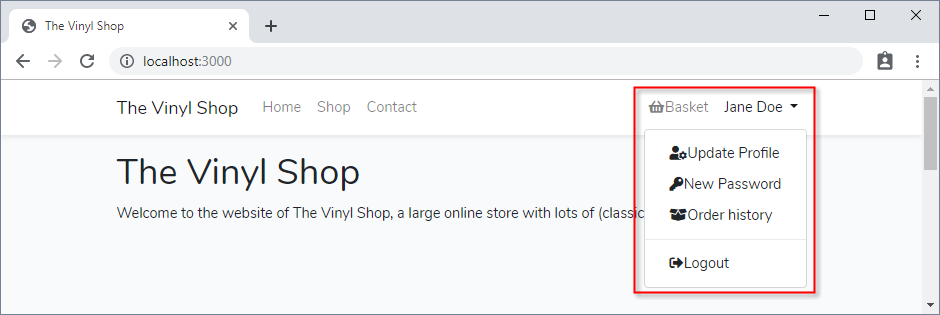
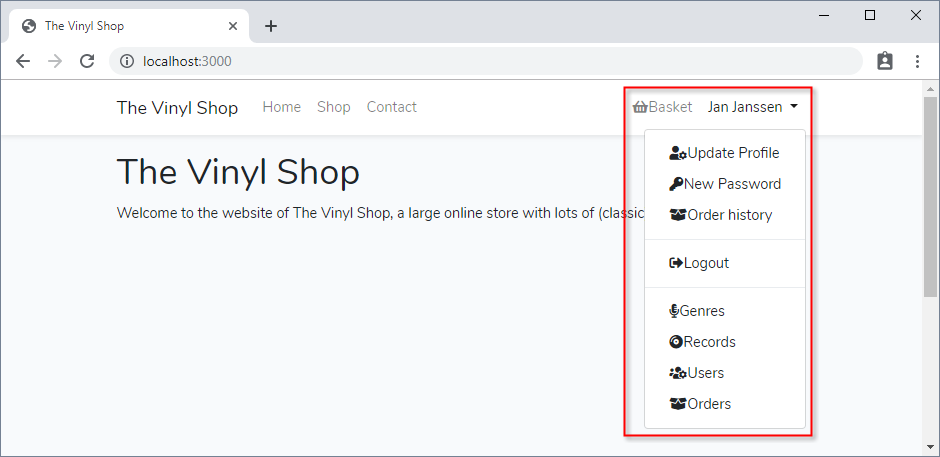
- Open the file resources/views/shared/navigation.blade.php
- Replace the right side navigation (
{{-- Admin navigation --}}) with the code below
{{--  Auth navigation  --}}
<ul class="navbar-nav ml-auto">
    @guest
        <li class="nav-item">
            <a class="nav-link" href="/login"><i class="fas fa-sign-in-alt"></i>Login</a>
        </li>
        <li class="nav-item">
            <a class="nav-link" href="/register"><i class="fas fa-signature"></i>Register</a>
        </li>
    @endguest
    <li class="nav-item">
        <a class="nav-link" href="/basket"><i class="fas fa-shopping-basket"></i>Basket</a>
    </li>
    @auth
        <li class="nav-item dropdown">
            <a class="nav-link dropdown-toggle" href="#!" data-toggle="dropdown">
                {{ auth()->user()->name }} <span class="caret"></span>
            </a>
            <div class="dropdown-menu dropdown-menu-right">
                <a class="dropdown-item" href="/user/profile"><i class="fas fa-user-cog"></i>Update Profile</a>
                <a class="dropdown-item" href="/user/password"><i class="fas fa-key"></i>New Password</a>
                <a class="dropdown-item" href="/user/history"><i class="fas fa-box-open"></i>Order history</a>
                <div class="dropdown-divider"></div>
                <form action="/logout" method="post">
                    @csrf
                    <button type="submit" class="dropdown-item"><i class="fas fa-sign-out-alt"></i>Logout</button>
                </form>
                @if(auth()->user()->admin)
                    <div class="dropdown-divider"></div>
                    <a class="dropdown-item" href="/admin/genres"><i class="fas fa-microphone-alt"></i>Genres</a>
                    <a class="dropdown-item" href="/admin/records"><i class="fas fa-compact-disc"></i>Records</a>
                    <a class="dropdown-item" href="/admin/users"><i class="fas fa-users-cog"></i>Users</a>
                    <a class="dropdown-item" href="/admin/orders"><i class="fas fa-box-open"></i>Orders</a>
                @endif
            </div>
        </li>
    @endauth
</ul>
1
2
3
4
5
6
7
8
9
10
11
12
13
14
15
16
17
18
19
20
21
22
23
24
25
26
27
28
29
30
31
32
33
34
35
36
37
38
2
3
4
5
6
7
8
9
10
11
12
13
14
15
16
17
18
19
20
21
22
23
24
25
26
27
28
29
30
31
32
33
34
35
36
37
38

Style the icons
- Open resources/js/app.js and add some jQuery code to give the Font Awesome icons a fixed width and some right margin
require('./bootstrap');

// Make 'VinylShop' accessible inside the HTML pages
import VinylShop from "./vinylShop";
window.VinylShop = VinylShop;
// Run the hello() function
VinylShop.hello();

$('[required]').each(function () {...});

$('nav i.fas').addClass('fa-fw mr-1');
1
2
3
4
5
6
7
8
9
10
11
2
3
4
5
6
7
8
9
10
11
Protecting Routes
- Middleware can be used to allow only the authenticated users access to a given route
- Laravel ships with built in auth middleware
- Since this middleware is already registered in your HTTP kernel, all you need to do is attach the middleware to a route or route group definition
- Protect the 'admin' route group with the auth middleware, such that these routes are only available to authenticated users
Route::middleware(['auth'])->prefix('admin')->group(function () {
    Route::redirect('/', '/admin/records');
    Route::get('records', 'Admin\RecordController@index');
});
1
2
3
4
2
3
4
- Check the URL http://localhost:3000/admin/records
- As a guest, you are directed to the login page
- As an authenticated (logged in) user, you see the view admin/records/index.blade.php, regardless whether you have admin rights or not
- Yet, our site has normal users and admins and the records page should only be accessible by admins
- Create a new admin middleware with the command
php artisan make:middleware Admin - Open the file app/Http/Middleware/Admin.php
- Update the
handle()method- The
abort()helper function sends you to an error page. The first argument determines which specific error page must be shown, and the second (optional) argument can be used to provide a specific error message.
- The
- Create a new admin middleware with the command
class Admin
{
    public function handle($request, Closure $next)
    {
        if (auth()->user()->admin) {
            return $next($request);
        }
        return abort(403, 'Only administrators can access this page');
    }
}
1
2
3
4
5
6
7
8
9
10
2
3
4
5
6
7
8
9
10
NAMING CONVENTIONS
- The name of a middleware starts with a capital letter (e.g.
Admin) as it corresponds to a class
- Open app/Http/Kernel.php and register the admin middleware to the
$routeMiddlewarevariable
protected $routeMiddleware = [
    'auth' => \App\Http\Middleware\Authenticate::class,
    ...
    'admin' => \App\Http\Middleware\Admin::class,
];
1
2
3
4
5
2
3
4
5
- Add the admin middleware, AFTER the auth middleware, to the 'admin' route group
Route::middleware(['auth', 'admin'])->prefix('admin')->group(function () {
    route::redirect('/', 'records');
    Route::get('records', 'Admin\RecordController@index');
});
1
2
3
4
2
3
4
- Open http://localhost:3000/admin/records
- If you login as an admin, you see all the records
- If you have no admin rights, you'll see the 403 error page (with customized message)

- Look at the routes table to see which middleware belongs to a specific route
Customize Laravel Registration
- Look at the following links for more advanced features like disabling registration, password confirmation, enabling email verification and social login


